How to Prep Your Walls for a Successful House Painting Project
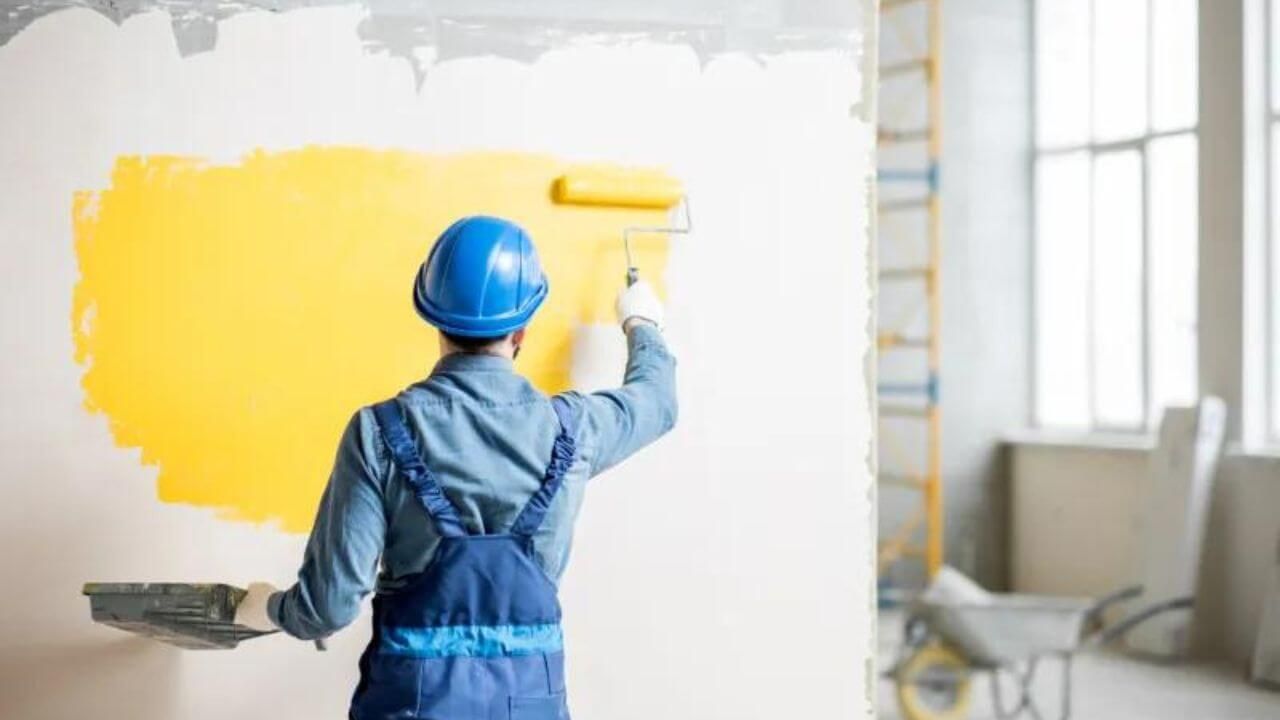
If you're looking to refresh your home's interior with a new coat of paint, you're likely excited about the transformation it will bring. However, before you start painting, there's an important step that many homeowners in Bellingham overlook: wall preparation. Properly prepping your walls is the key to achieving a smooth, durable, and professional-looking finish. In this comprehensive guide, we'll walk you through each step of the wall preparation process, ensuring your painting project is a success from start to finish.
Why Wall Preparation is Essential
Wall preparation is often seen as a tedious and time-consuming task, but it’s vital for a flawless paint job. Skipping or rushing through this step can lead to issues such as paint peeling, uneven surfaces, and a finish that doesn’t last. By thoroughly prepping your walls, you'll not only improve the appearance of your paint job but also extend its longevity, making your investment worthwhile.
Step-by-Step Guide to Prepping Your Walls
1. Gather the Necessary Tools and Materials
Before you start, make sure you have all the tools and materials you'll need. Here's a checklist to get you started:
- Sandpaper (120 to 220 grit)
- Putty knife
- Spackle or joint compound
- Painter’s tape
- Drop cloths
- Bucket and sponge
- Detergent or mild soap
- Vacuum with a brush attachment
- Primer
- Paint rollers and brushes
- Caulk and caulking gun (for gaps and cracks)
2. Clear and Protect the Area
Start by removing all furniture, decorations, and fixtures from the room. If something is too large to move, cover it with a drop cloth to protect it from dust and paint splatters. Use painter’s tape to cover any trims, baseboards, and doorframes that you don't want painted. Lay down drop cloths to protect the floor.
3. Clean the Walls
Cleaning the walls is an often-overlooked step that is essential for a successful paint job. Dust, dirt, and grease can prevent paint from adhering properly.
- Dust and vacuum: Use a vacuum with a brush attachment to remove any loose dust and cobwebs from the walls.
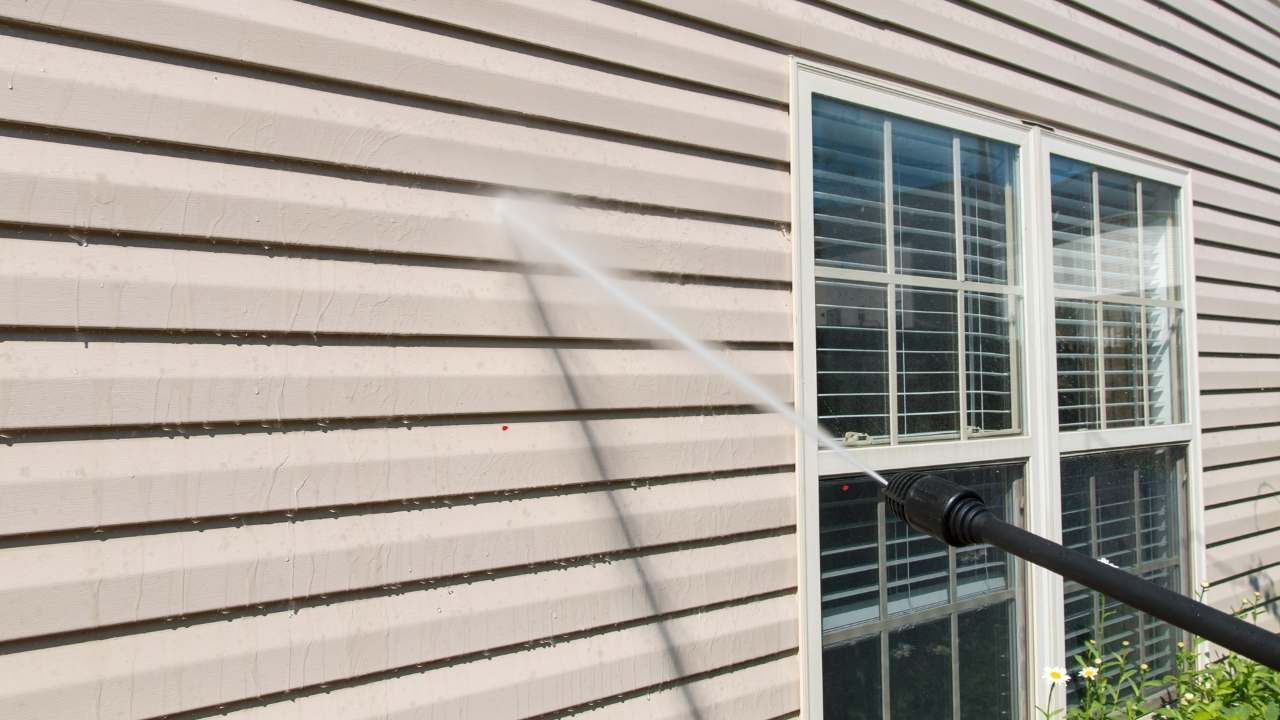
- Wash the walls: Mix a small amount of mild detergent with water in a bucket. Use a sponge to wash the walls, focusing on areas that are particularly dirty or greasy. For stubborn stains, use a stronger solution, but be sure to rinse thoroughly with clean water to remove any soap residue.
4. Repair Any Damage
Inspect the walls for any damage such as cracks, holes, or dents. These imperfections can ruin the look of your new paint job if not properly addressed.
- Fill holes and cracks: Use a putty knife to apply spackle or joint compound to any holes or cracks in the walls. For larger holes, you may need to apply multiple layers, allowing each layer to dry completely before applying the next.
- Smooth the surface: Once the spackle is dry, use sandpaper to smooth the surface until it’s even with the rest of the wall. Start with a coarser grit (120) and finish with a finer grit (220) for a smooth finish.
- Remove dust: Wipe down the walls with a damp cloth to remove any dust created during sanding.
5. Remove Old Paint
If your walls have multiple layers of old paint that are peeling or bubbling, it’s best to remove them before applying a new coat.
- Scrape away loose paint: Use a paint scraper or putty knife to remove any peeling or flaking paint. Be careful not to damage the wall surface.
- Sand the edges: Sand the edges of any remaining paint to create a smooth transition between the old and new paint layers.
6. Prime the Walls
Priming is a critical step that many homeowners skip, but it’s essential for achieving a professional finish.
- Choose the right primer: Select a primer that’s appropriate for the type of paint you’ll be using (e.g., oil-based or latex) and the surface you’re painting. If you’re painting over a dark color or a stained wall, a stain-blocking primer is recommended.
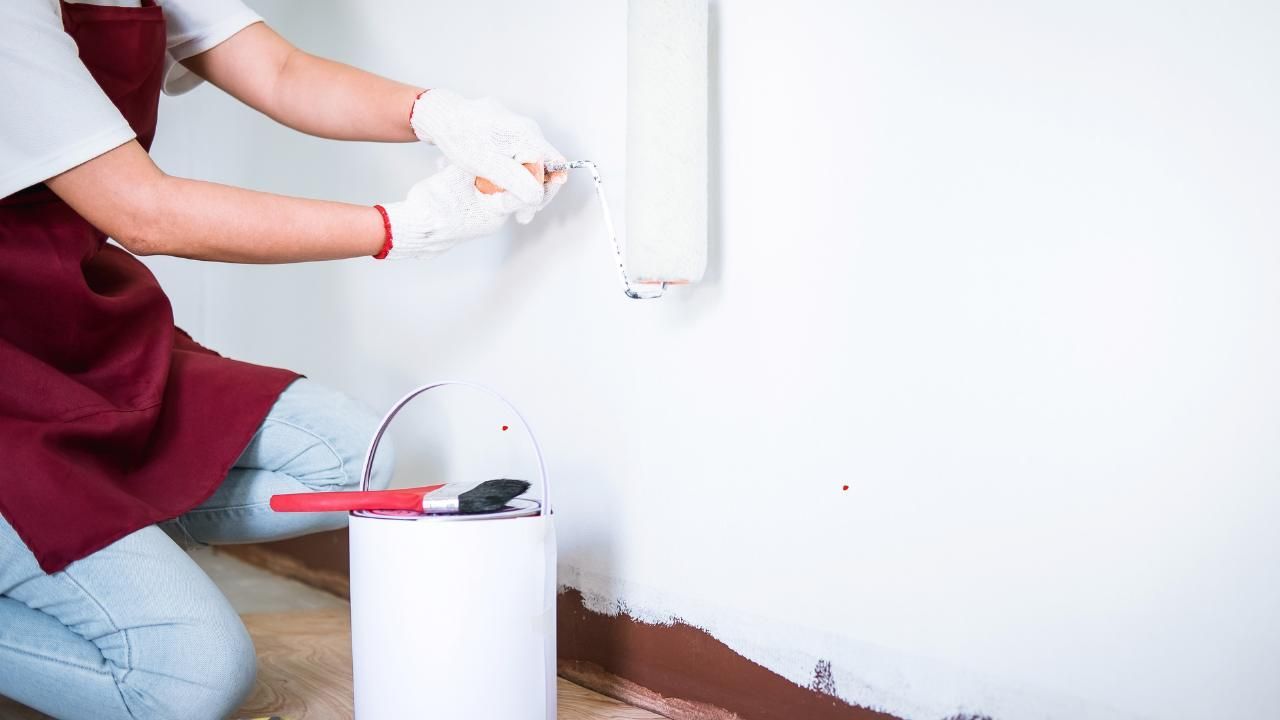
- Apply the primer: Use a paint roller or brush to apply a thin, even coat of primer to the walls. Allow the primer to dry completely according to the manufacturer’s instructions.
7. Final Preparations
Before you start painting, do a final check to ensure the walls are smooth and clean.
- Inspect the walls: Check for any imperfections you may have missed and address them as necessary.
- Remove dust: Give the walls a final wipe-down with a damp cloth to remove any dust or debris that may have settled during the priming process.
Key Considerations for Hiring a House Painter
If you're planning to hire a professional house painter Bellingham, here are a few things to keep in mind:
- Check credentials and reviews: Look for painters with good reviews and the necessary licenses and insurance. Word-of-mouth recommendations from friends and family can also be valuable.
- Get multiple quotes: Obtain quotes from at least three different painters to compare prices and services. Make sure to ask for detailed estimates that include the cost of materials and labor.
- Discuss preparation and cleanup: Ensure that the painter includes wall preparation and post-painting cleanup in their services. Proper preparation is critical to a high-quality paint job, and cleanup will leave your home looking neat and tidy.
- Review the contract: Before signing, carefully review the contract to understand what is included and any potential additional costs.
Conclusion
Prepping your walls properly before painting is the secret to a successful painting project that will leave your home looking fresh and new. Whether you decide to tackle the project yourself or hire a professional painter, following these steps will ensure you achieve a beautiful and lasting finish. Remember, a little extra effort in the preparation phase can save you time, money, and frustration in the long run, leading to an A+ result that you'll be proud to show off.
If you’re looking for professional help in Bellingham, don't hesitate to reach out to us. We pride ourselves on delivering top-notch painting services, with meticulous attention to detail in every project we undertake. We are experts in transforming homes with our professional touch, ensuring that every wall we paint is prepped to perfection. Want to learn more about who we are or have specific questions about your upcoming painting project? Drop us a line today, and let us help you bring your vision to life with a flawless finish.


