

DIY Tips for Preparing Your Home's Exterior for Painting
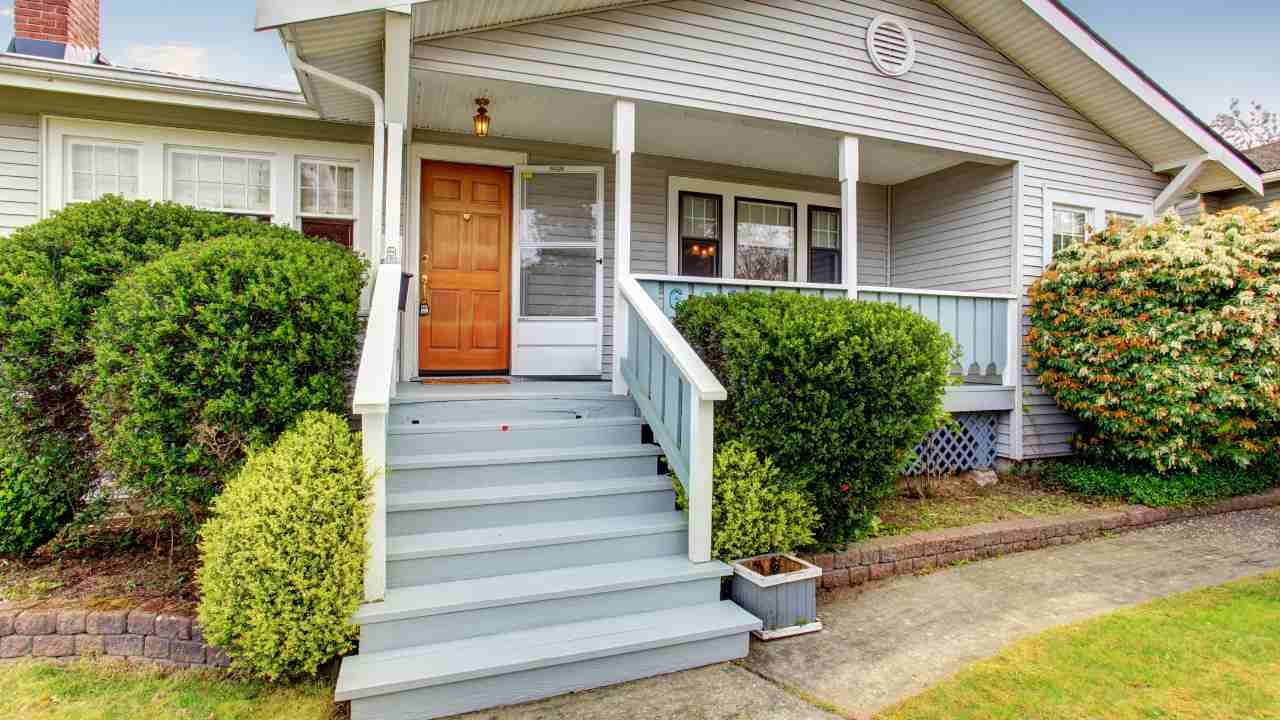
Giving your home’s exterior a fresh coat of paint is a great way to boost curb appeal and protect it from the elements. But before the paintbrushes come out, it’s essential to properly prepare the surface. This prep work makes a huge difference, ensuring the paint sticks well and stays looking great for years. Here’s a simple guide to get your home ready for painting, with tips tailored to Bellingham, WA's unique climate and conditions.
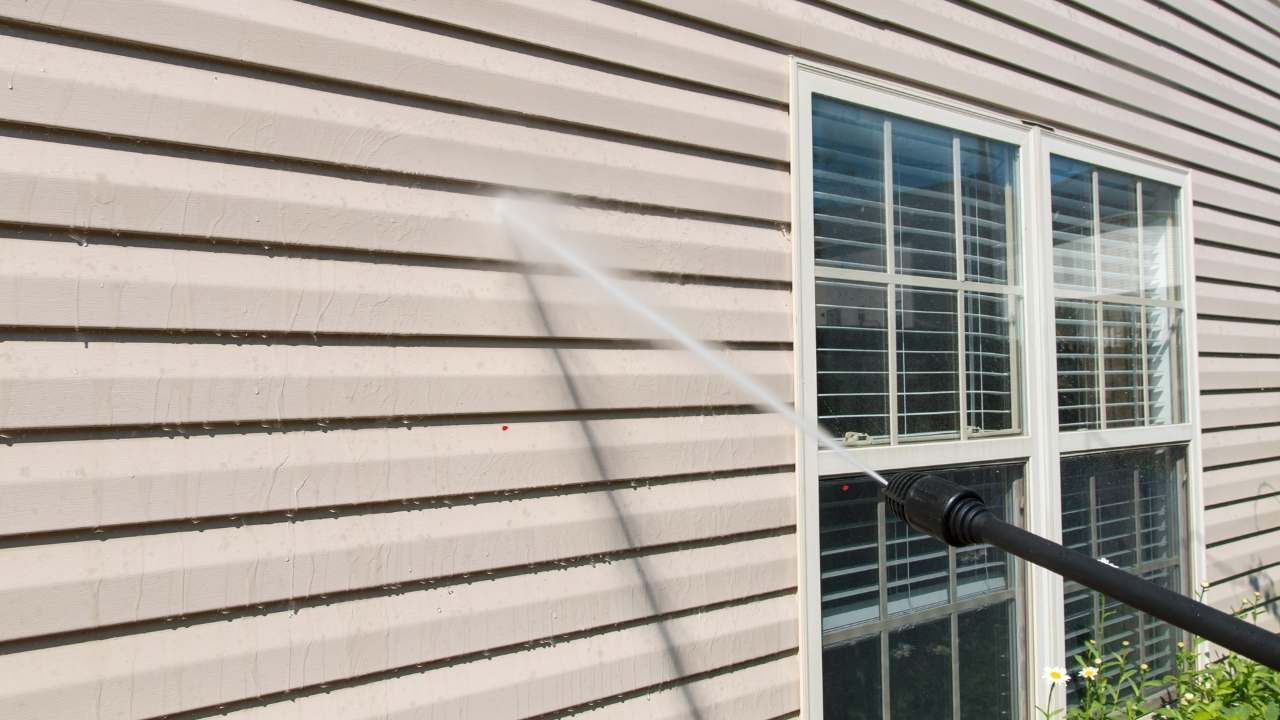
1. Start with a Good Cleaning
Dirt, mildew, and dust accumulate on your home’s exterior over time, making it harder for paint to bond. Cleaning the surface is the first and possibly most important step for a successful paint job.
- Pressure Washing: A pressure washer is your best friend for this task. It can blast away grime and old dirt. If you don’t own one, consider renting from a local hardware store. Remember to keep the nozzle at a safe distance from the surface to avoid damaging the siding.
- Scrubbing: For stubborn spots, like mold or mildew, try a scrub brush with a mild detergent. These areas tend to gather moisture, especially in Bellingham’s rainy climate, so pay close attention to the areas under eaves or around gutters.
2. Remove Loose Paint
Once your home is clean and dry, check for any flaking or chipping paint. Loose paint can keep fresh paint from bonding well, leading to an uneven finish or peeling down the line.
- Scrape Off Peeling Paint: Use a paint scraper to remove any flaking paint. Be patient; this step can take time but will lead to a smoother, more polished result.
- Sand Rough Edges: After scraping, lightly sand any rough spots to blend the edges of old paint with the bare surface. This creates a smoother surface for your new coat and helps the paint adhere better.
3. Check for Any Repairs
In a climate like Bellingham’s, moisture and weather can cause damage over time. Now’s the time to make any repairs before you start painting.
- Replace Damaged Wood: Check the trim, siding, and window frames for any signs of wood rot or decay. Replace any damaged wood with new materials to ensure a solid surface for painting.
- Fill Cracks and Gaps: Use exterior-grade wood filler or caulk to seal any small cracks or gaps in the siding or around windows and doors. A well-sealed surface prevents moisture from sneaking in, which could cause peeling or cracking later.
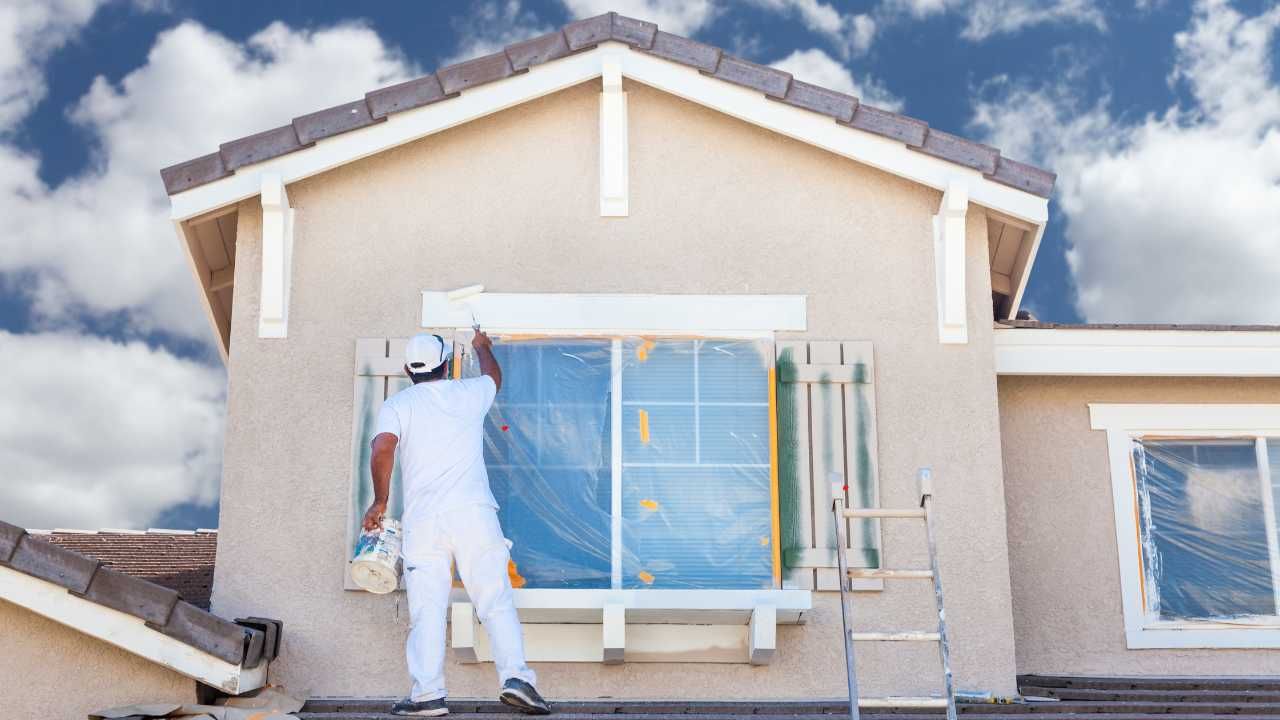
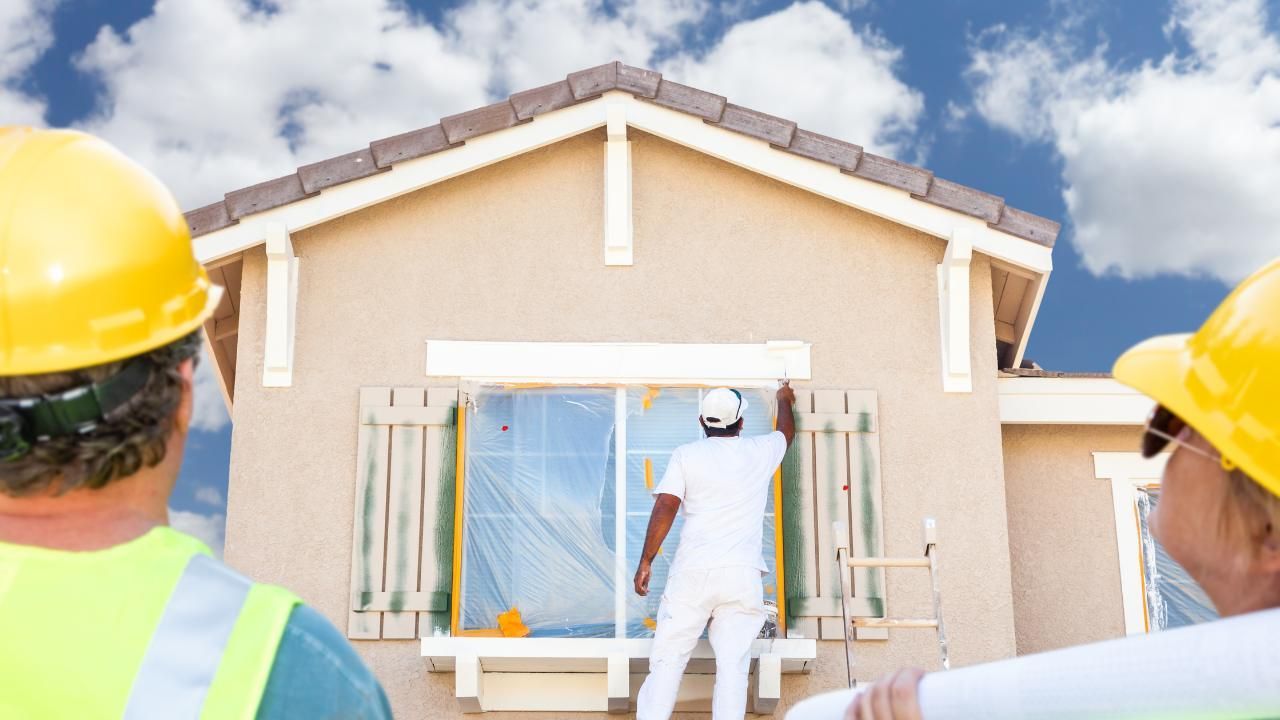
4. Protect Your Doors, Windows, and Landscaping
You’ll want to keep paint off surfaces you’re not painting. Taking a little time to cover these areas will save you a lot of cleanup later on.
- Tape Off Doors and Windows: Use painter’s tape to mask off window frames, door edges, and any other trim you don’t want painted. For larger areas, plastic sheeting works great.
- Cover Nearby Plants: If you have flowers, bushes, or other plants close to your home, protect them with a drop cloth or plastic sheeting. This keeps any drips or paint splatters from damaging your landscaping.
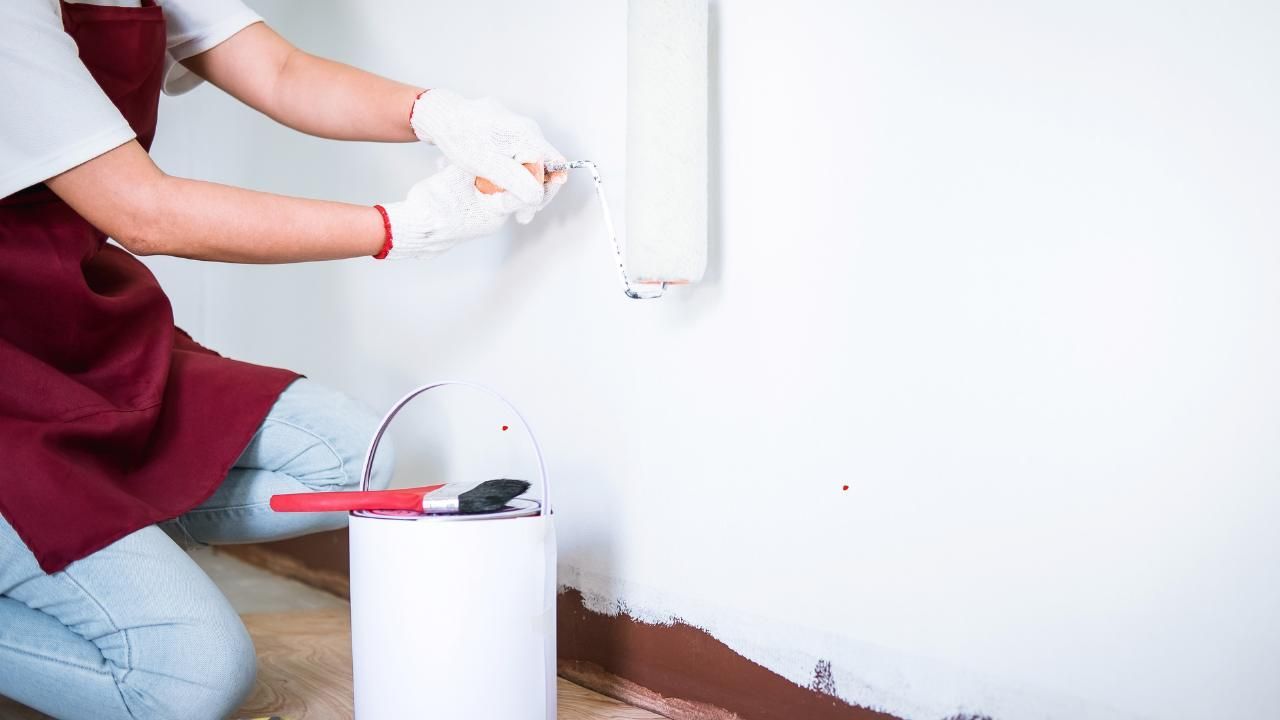
5. Prime, if Needed
Priming isn’t always necessary, but it can make a big difference, especially on bare wood or if you’re making a significant color change.
- Choose a Good Exterior Primer: For most exteriors, an oil-based or latex primer works well. If you’re unsure, ask at a local paint store. They’re familiar with what works best in Bellingham’s climate.
- Apply Evenly: Spread the primer evenly across your home’s exterior with a brush or roller. Give it ample time to dry—usually around 24 hours—before moving on to the topcoat. A well-primed surface can make your paint color pop and last longer.
6. Decide if You Need Extra Help
Painting can be a big project, and while it’s possible to handle it yourself, some homeowners prefer to call in a professional. If you need a professional to freshen up your home's exterior, searching for an "exterior house painter near me" can help you find local experts. They can bring experience and efficiency to the job, especially with preparation steps like pressure washing and priming.
Once you’ve cleaned, repaired, and primed, you’re ready to start painting! Whether you’re doing it yourself or working with professionals, these steps ensure a smooth and long-lasting finish.
Need a little help getting your home’s exterior in top shape for painting? Our team is here to guide you, from prep work to the final coat. Reach out to us today to learn how we can make your next exterior painting project a breeze!


Service Areas

Ferndale
Lynden
Blaine
Birch Bay
Sumas
Everson
Nooksack
Lummi Island